Through this guide, we will show you how to convert a boring PDF file into an animated flipbook in the easiest way. It will take you 4 simple steps and less than 5 minutes and the result is going to amaze you.
Step 1: Check your PDF page distribution
Step 2: Convert PDF to flipbook
Step 3: Customize the flipbook
Step 4: Share it
Step 1: Check your PDF page distribution
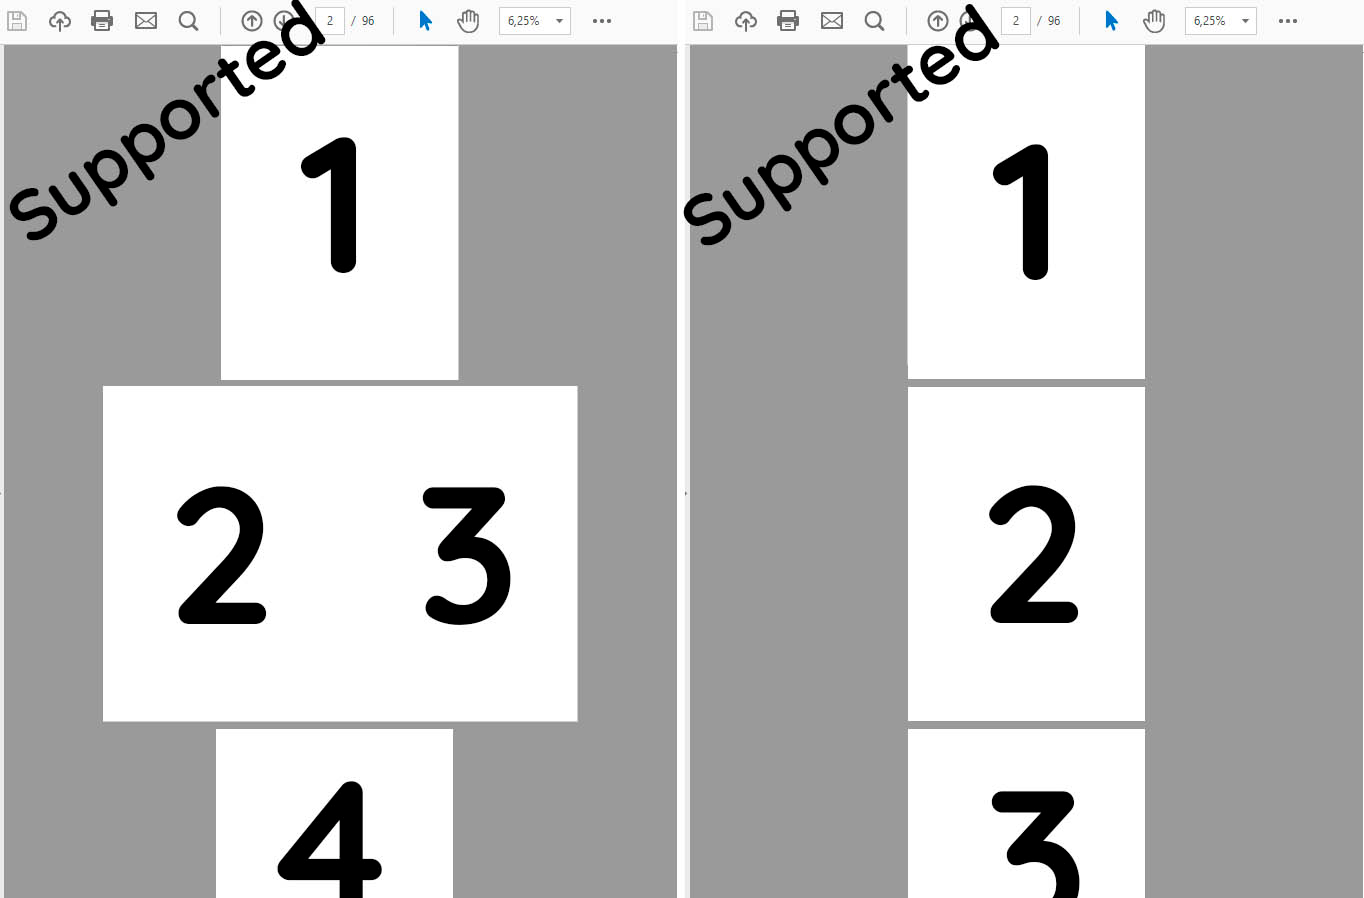
The first step is to open the PDF file you want to convert and take a look to make sure it has the correct page distribution. The page size doesn't really matter, but all the pages should have the same size to avoid the flipbook stretching the content.
If your PDF uses spreads, meaning the cover and the last pages are in their own PDF page and the content is placed two pages for one PDF page, don't worry, heyzine will correctly split them. But if there are two pages on every PDF page, it's not possible to detect it, so you should fix this in your PDF editor. If you need software for that, these PDF editors make splitting spreads and adjusting page sizes simple.
Anyway, the best thing you can do is simply upload it and see what happens.

Step 2: Convert PDF to flipbook
Go to the PDF to flipbook conversion page, click the upload button, and select the PDF file from your computer. After a few seconds, the page will reload showing you a small preview of the result.
It can take a bit more for the conversion to complete, depending on the network connection and the PDF, but it almost never takes more than 5 minutes and there is no limit on the size or the number of pages.
Step 3: Customize the flipbook
Now that we have it created, we can change a lot of things to better fit the style of the document and the reading experience depending on the reader profile of our publication.
First, click on the customize button to get into the editor where we can for example change the page turn effect. For magazines, catalogs, and brochures we recommend the "Magazine" effect, for restaurant menus or photo albums the "Album" effect will probably look better, and for professional documents, reports, or slideshows the "Slider" effect is surely what you are looking for.
The next thing is to add your company logo and link, this way the users can go to your main site easily and your flipbook will have a professional look. If your company has brand backgrounds, you can upload them to use on the back of the flipbook viewer, otherwise, you can always choose between more than 30 predefined backgrounds, search for one, or simply use a solid color.
From the editor, you can add links, pictures, videos, audio and other interactions that open a world of possibilities. To get some ideas take a look at the flipbook editor guides.
Step 4: Share it
When we have the flipbook with a nice presentation and style, it's time to share it. You should set the title and subtitle of the document if you have not already done so, this is the text that will show up when sharing the link on Twitter, Facebook, LinkedIn, WhatsApp, and the rest of the social networks.
Now click the "Share" button, copy the link and send it!
In case you want to share it on a service supporting Html, you can get an image thumbnail, an embedded viewer, or a QR code to copy or print.
For more information about different ways of sharing, check out the flipbook publishing guides.


